Vanessa Jogger Shorts // Pattern Hack
the Vanessa Fluid Pants pattern and think "pants can wait, it will be summer soon (at least in Canada)"? We've got news for you! After reading this hack you will be able to wear this pattern year round as you will have anything you need to make great pants AND stylish, comfortable shorts!
First off, sizing. I go back to the Jalie Measurement Chart each time I make a garment, even if I made something the week before. Our measurements change all the time and my kids sizes change even more quickly.
Juju's measurements (as of today) are 28" waist, 37 1/2'' hips. Her waist corresponds to size S and hips are between sizes S and T. The hips measurements is the most important when picking a size for pants.
I would normally go with size T, but I will use S for this project because:
- Today's hack will add ease
- I will use a knit that stretches across the grain
Pattern Preparation
- Print / Trace the pattern (I am using the PDF pattern for this hack - the pattern is also available in paper (printed) format.
-
Cut the pattern pieces making sure all marking and notches are visible. They are very important and will make assembly much easier.
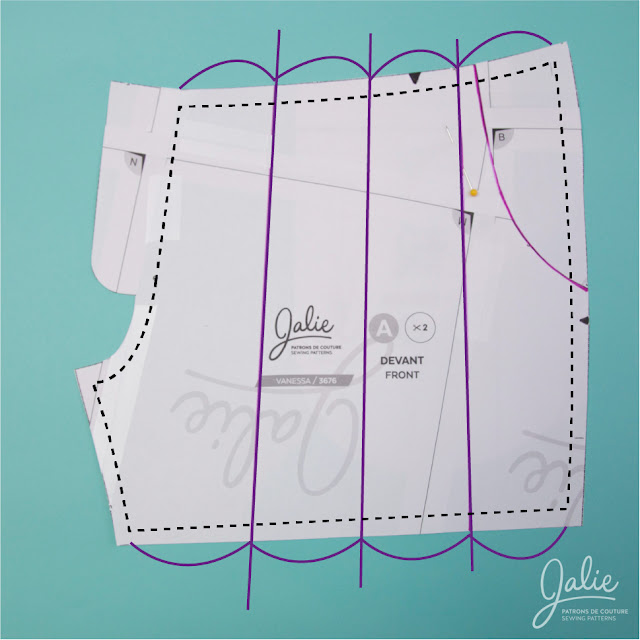
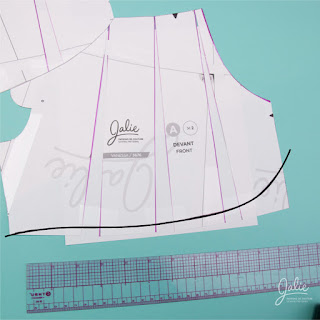
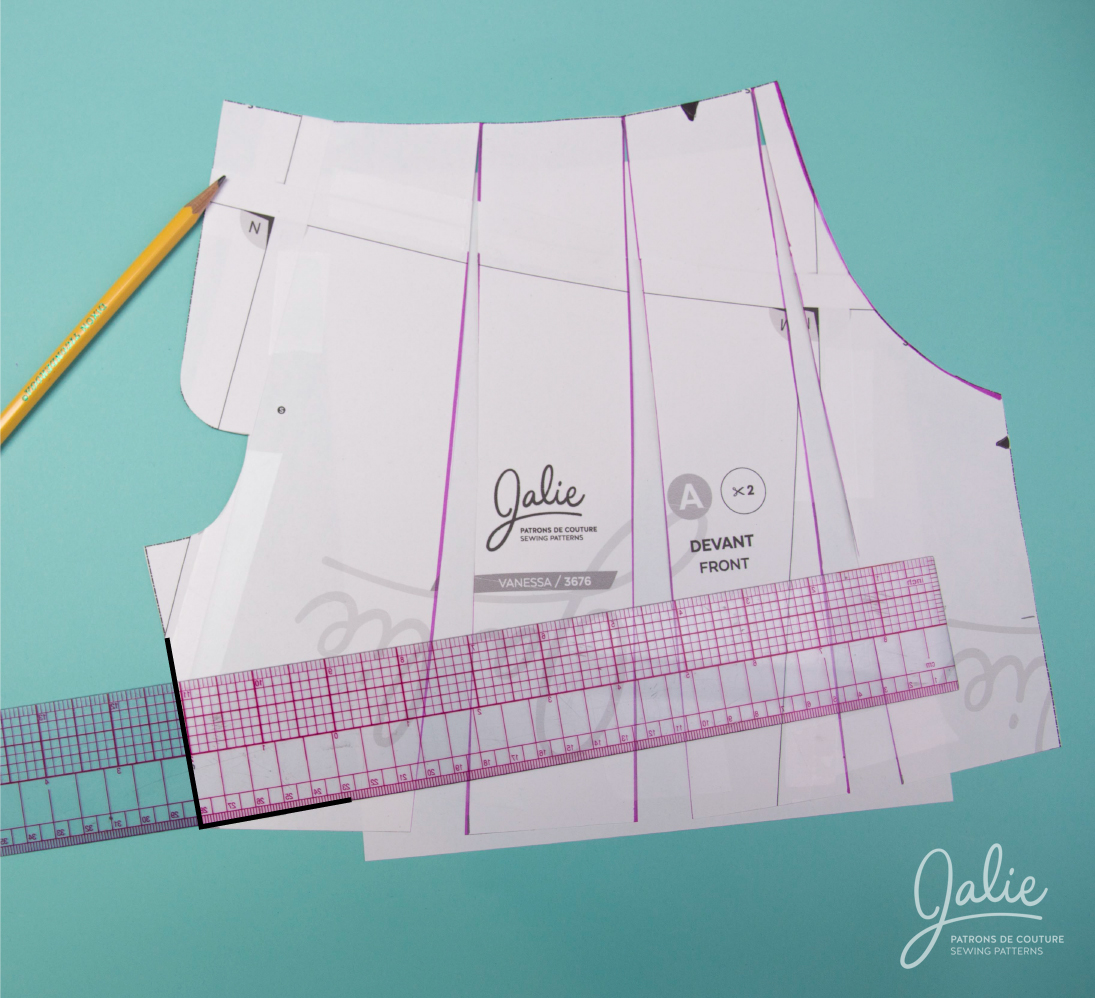
In the following picture, I cut the notches flush with the cut line and trace the triangles inside. I usually clip the fabric instead of cutting the outward triangles that you see on the original pattern. However, I strongly recommend you keep the triangles outside, as you see them on the pattern, especially if you are working with a fabric that frays. This way you will make sure you can all see them. - Measure approximately 4'' (10 cm) inseam (black line) on the front and back pieces.
- Measure approximately 5'' (12,5 cm) below the side seam notch (red line) on front and back pieces.
- Trace from inseam to side seam to create a "temporary hem line".
Pattern Alteration
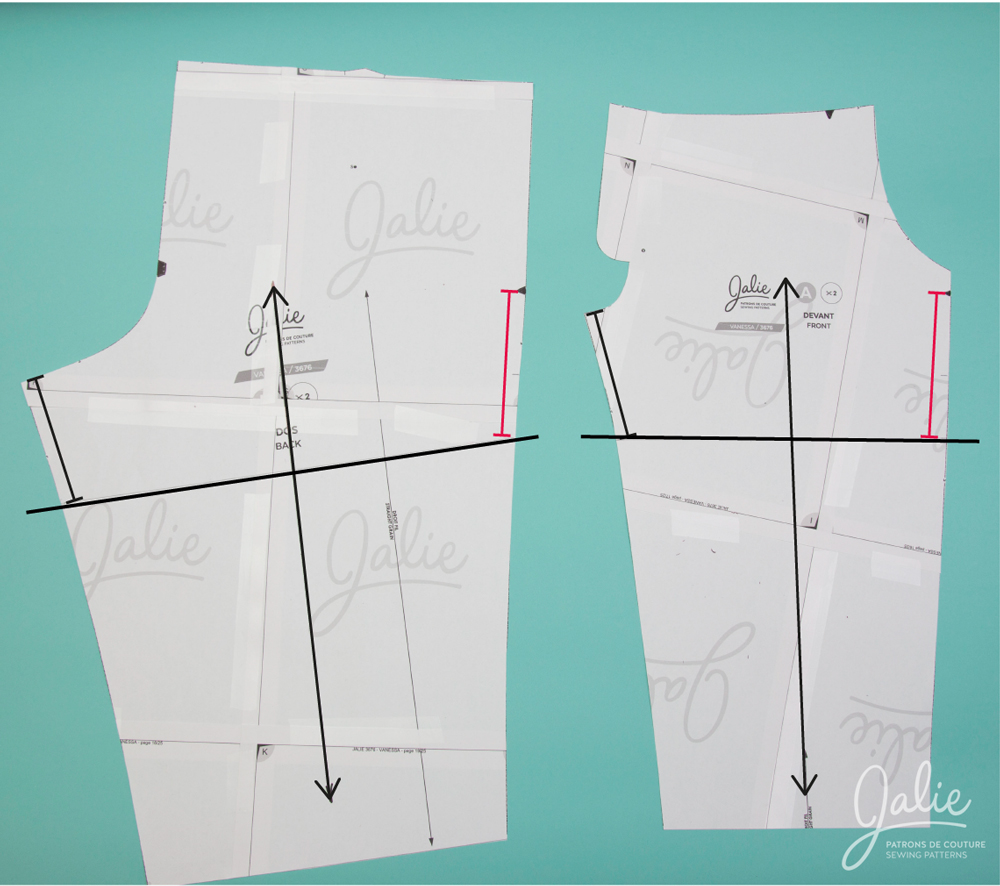
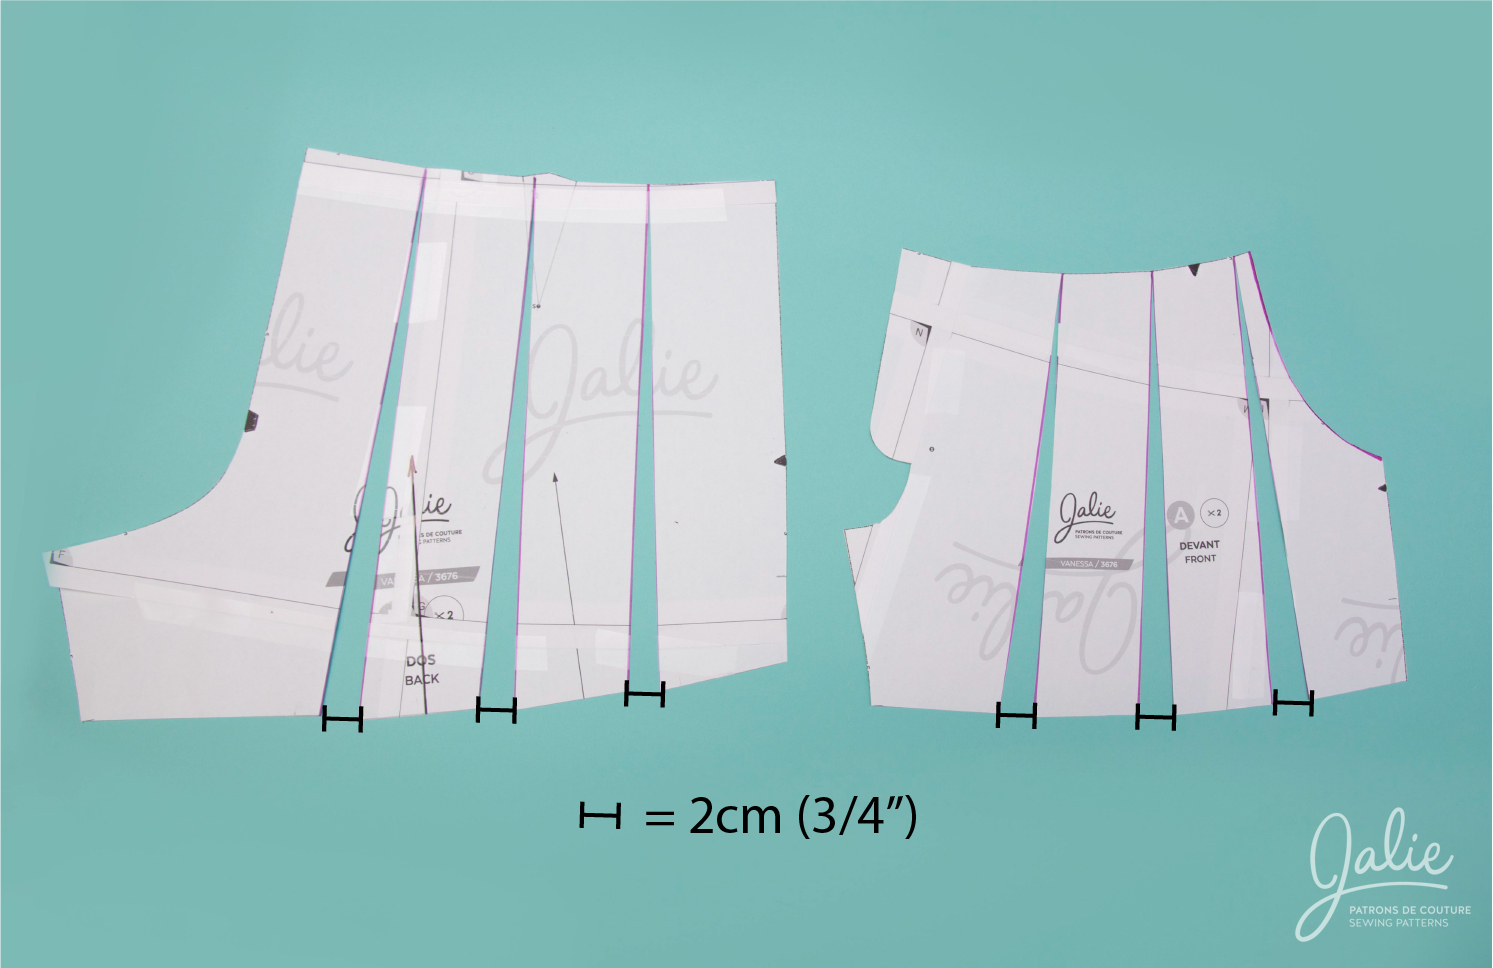
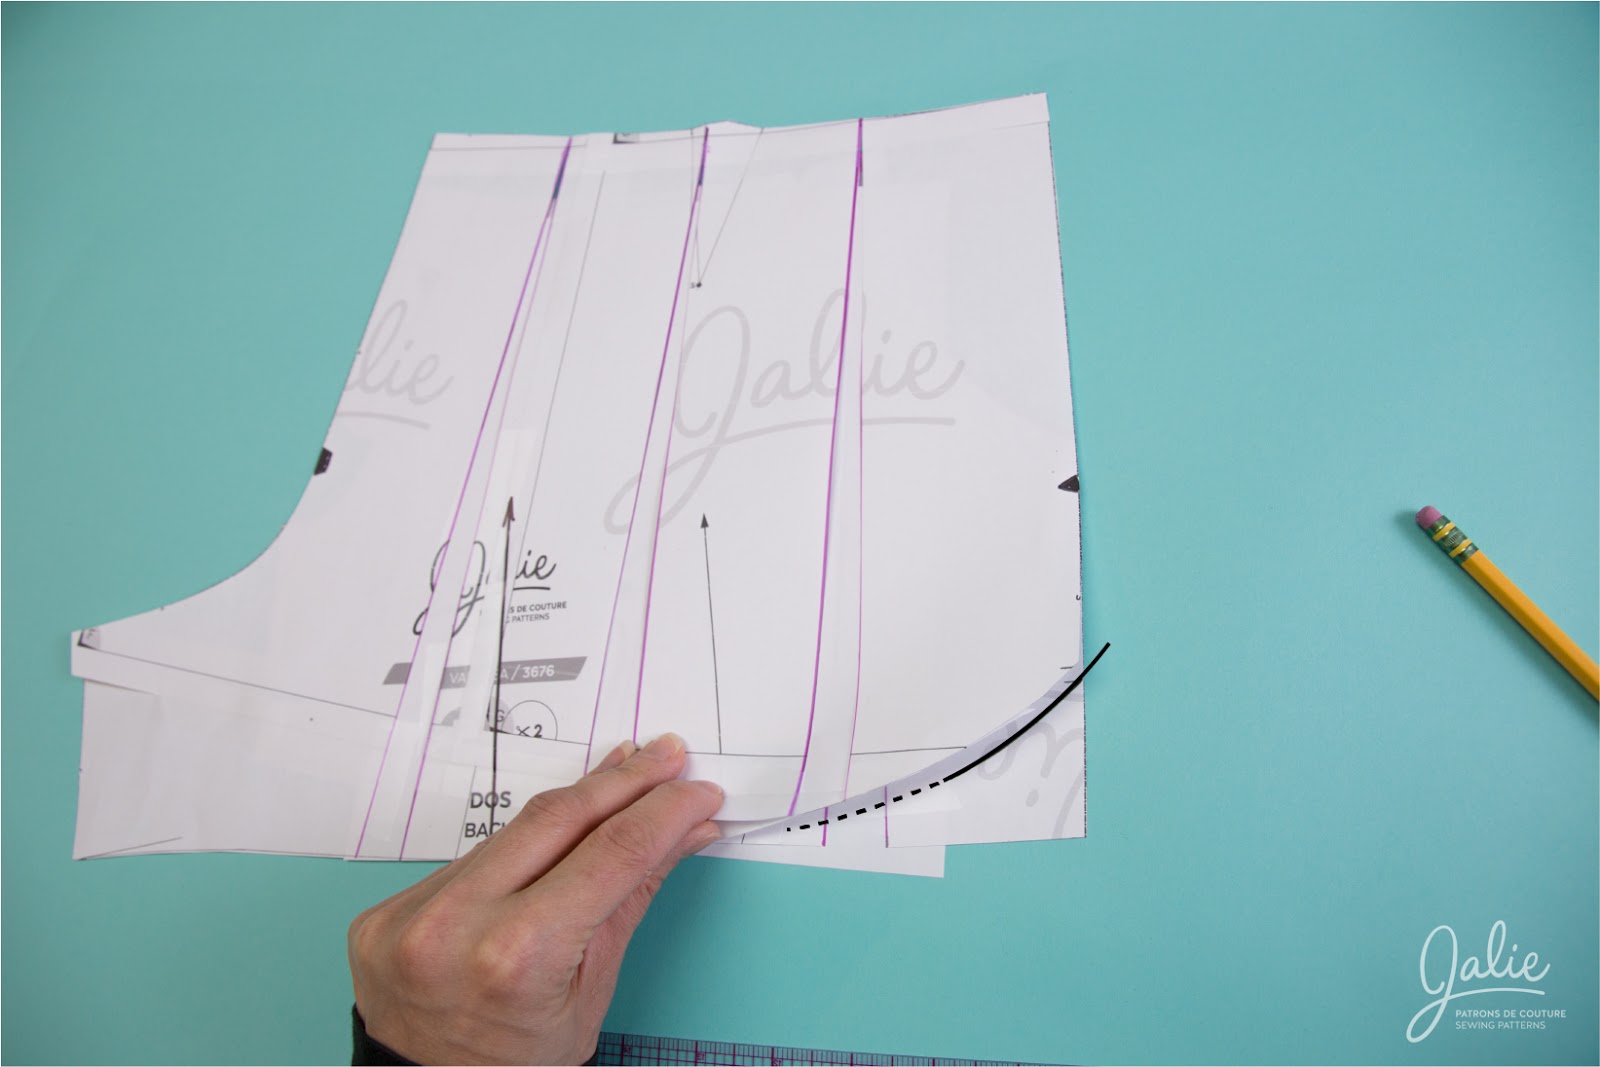
Back Piece
- Cut or retrace your new short pieces.
- Draw the seam allowances (1 cm / 3/8'') from edge to visualize the actual seam lines.
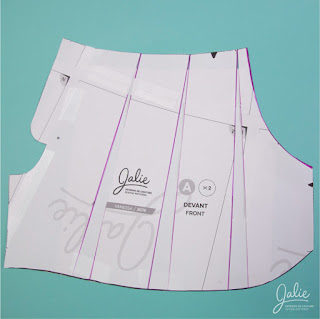
- Divide in 4 sections, with lines parallel to center back
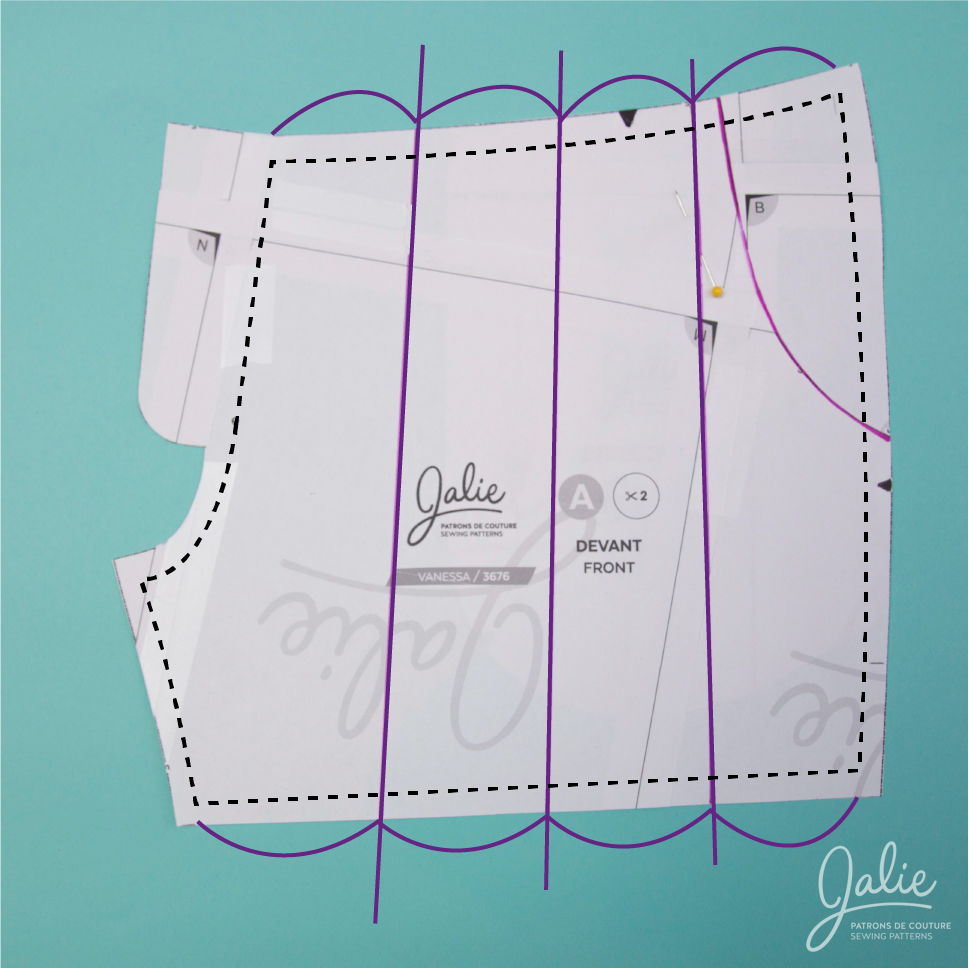
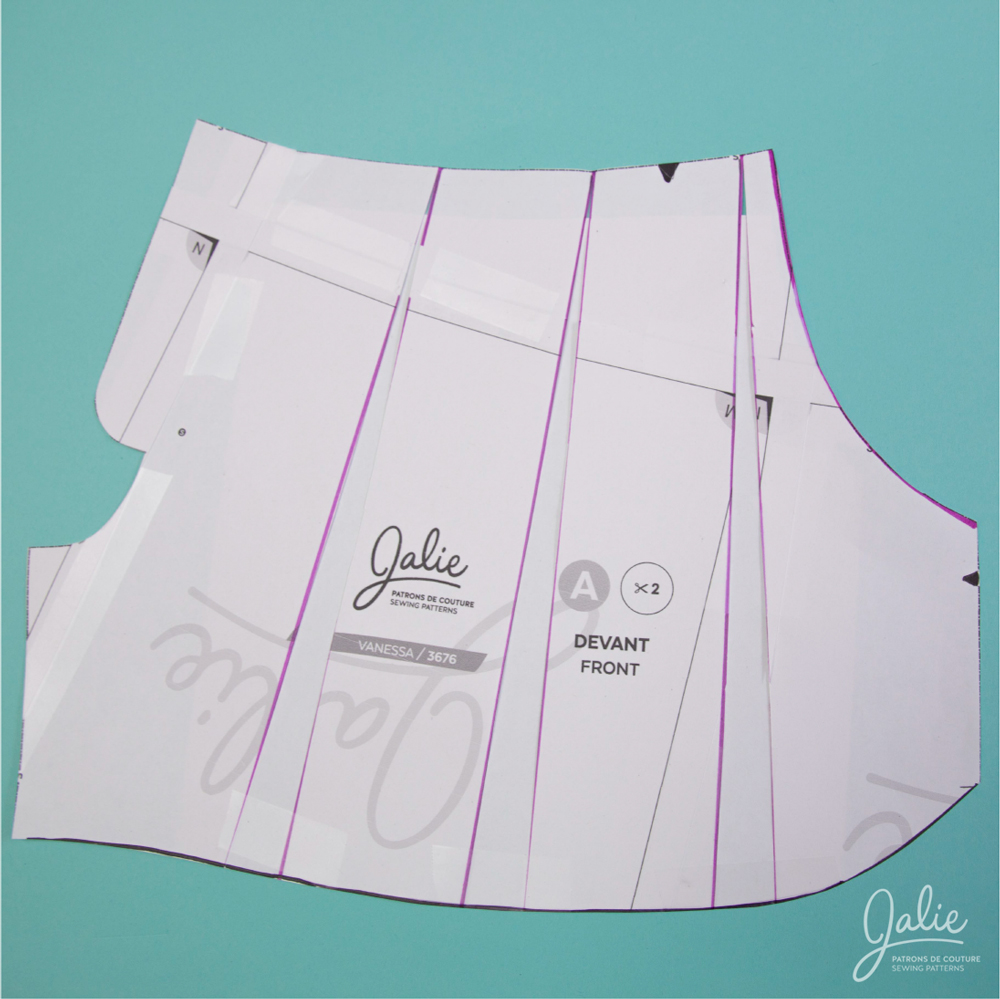
Front Piece
- Place the pocket bottom (D) piece under the front piece, lining up notches, to see the complete front waist and divide into fourths as shown.
Let's Have Fun!
- Cut along the lines, leaving the top attached. Fan out to add about 2 cm (3/4'') between each section. If you want more ease, open up a little more. You can go up to 5 cm (2'') for a "culotte" look.

- Place a sheet of paper under your pattern and tape the sections in place.
- Trace a new hem line, square or curved, as you feel it. Follow your inspiration!

You can see here that the dart is cut. I moved the point towards to the left to align it with the "opening"
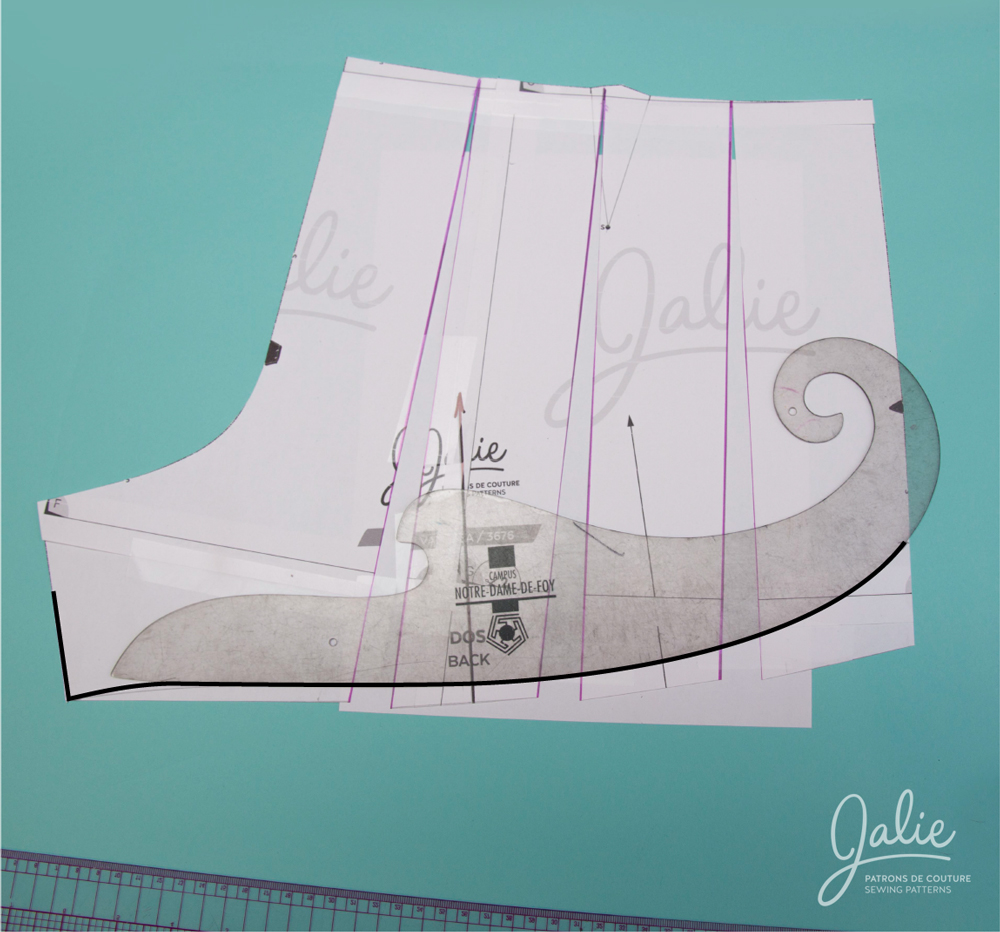
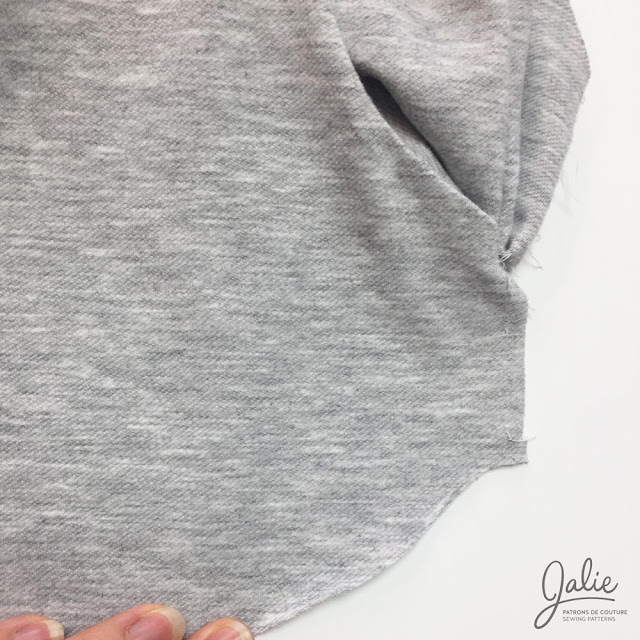
- On your front piece, start a line, square with your inseam.

- Use the front piece as a template for the back hem curve . When putting the pieces one on top of the other, always align the notches to keep everything straight and in this case, make sure you have identical side seams lengths.

- Cut your front hem along the line.
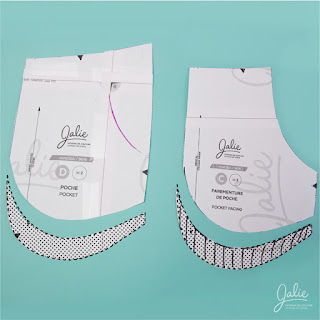
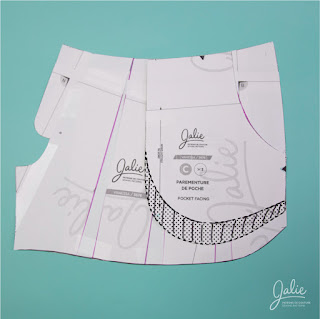
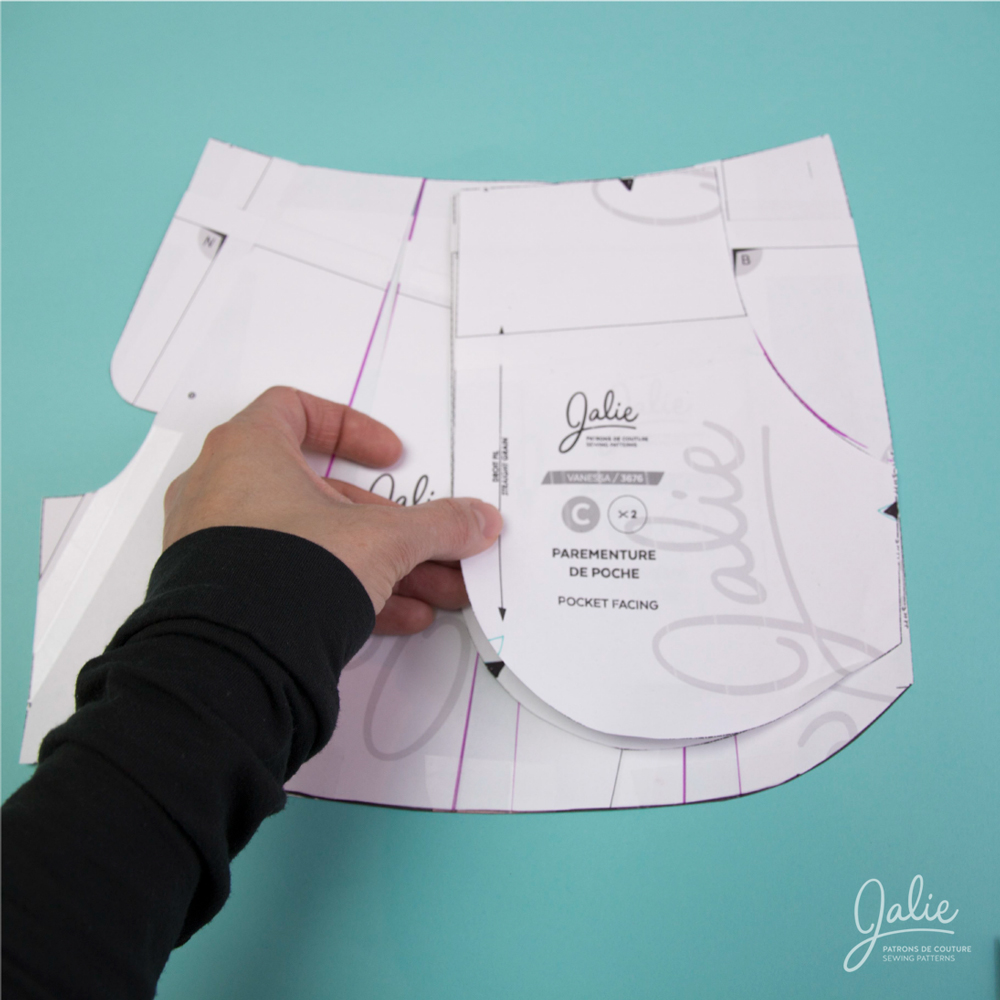
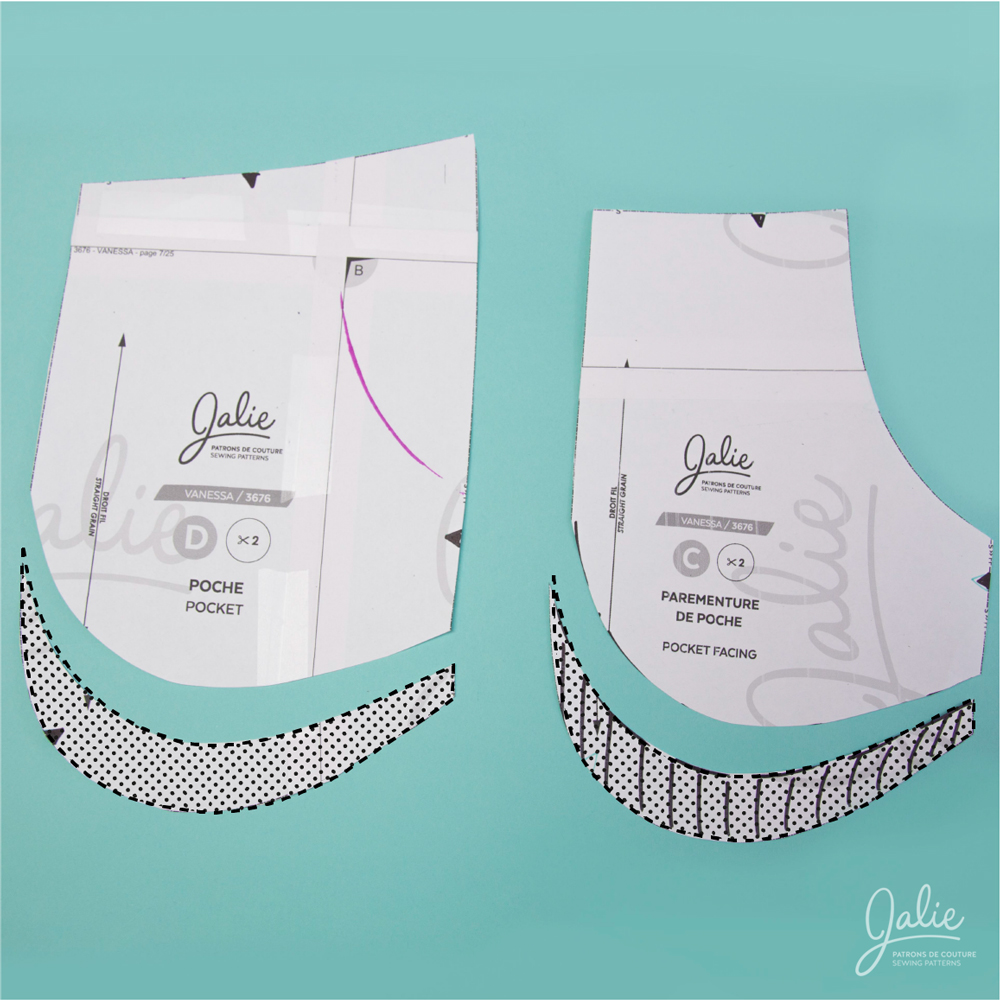
- Now it is important to check the pocket placement because you don't want pockets sticking out at the bottom! You simply have to lay the pocket and pocket facing pieces on top of the front piece and trim them if you need to. We decided to remove about 1'' (2,5 cm) since our pockets will be made of knit and therefore stretch downwards a little when Juju puts her hand in them.

- Trim the pocket (D) and pocket facing (C)


Time to Sew
- Cut 1 1/2'' (4 cm) wide strips on the bias (45 degree angle with selvage) for the shorts binding.
- Overlap ends as shown and stitch at 45 degrees (diagonal).

- Trim the seam allowance to 1/4'' (6 mm).

- Press seam allowances open.
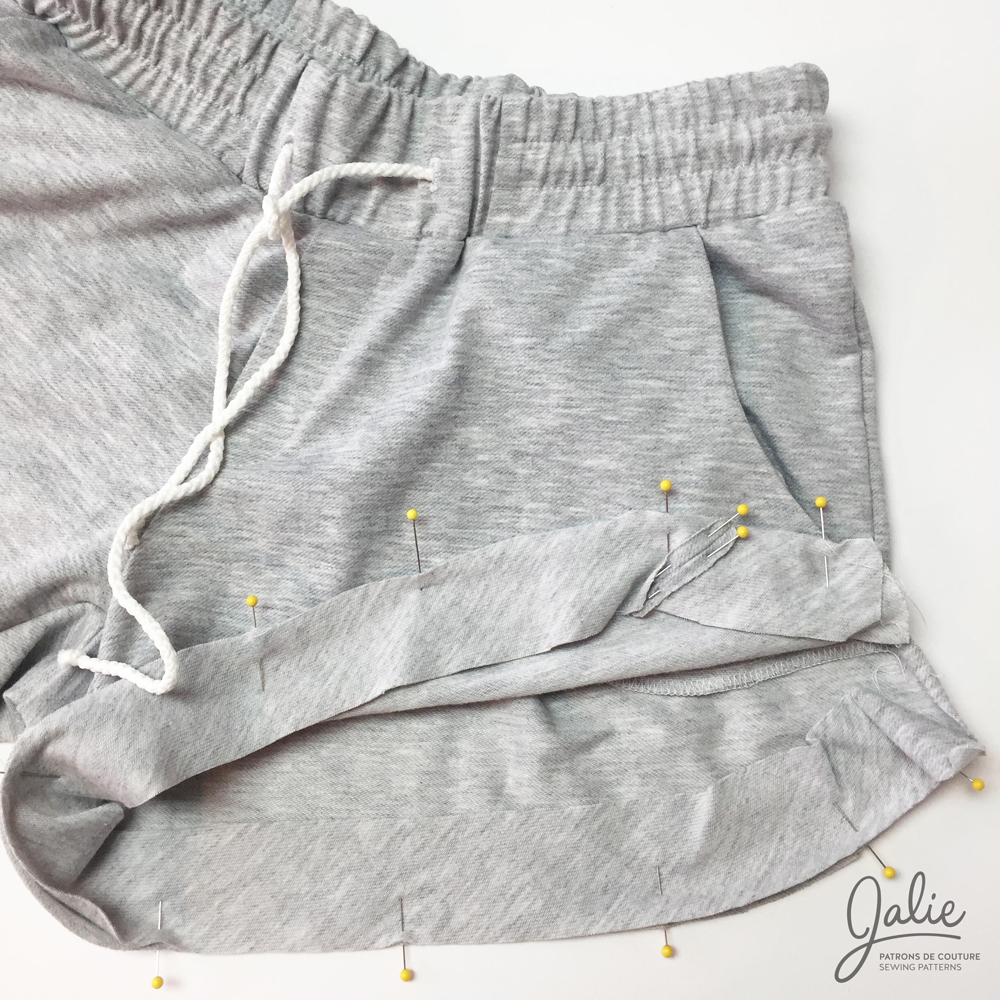
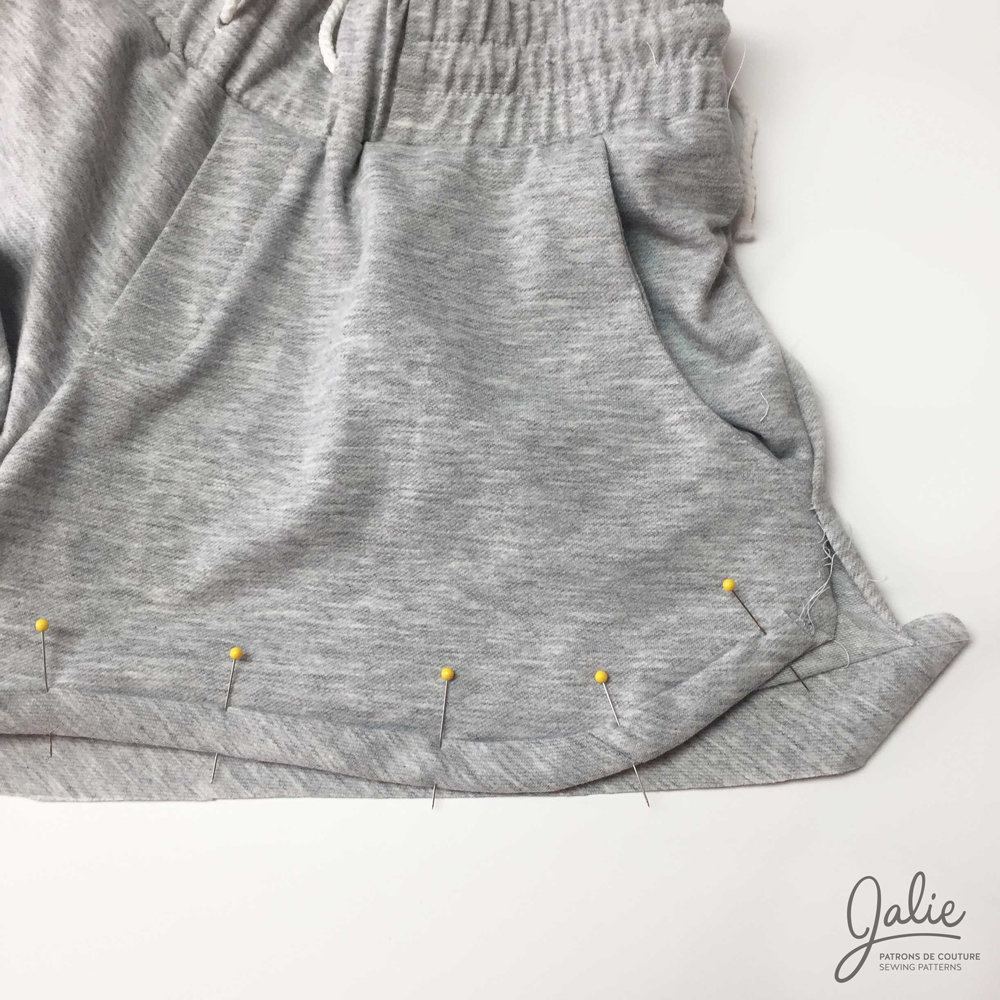
- Assemble the shorts, following the pattern instructions (you can read them on the Jalie website before buying your pattern!), but leave a section of the side seam open.
- Pin right side of bias to wrong side of shorts and stitch 1/4'' (6 mm) from edge.

- Bring the seam allowance upwards, on right side of shorts.
- Fold bias wrong sides together, by 1/2'' (1,25 cm), its raw edge against the seam.

- Fold bias again onto the right side of the shorts.
- Pin binding generously.

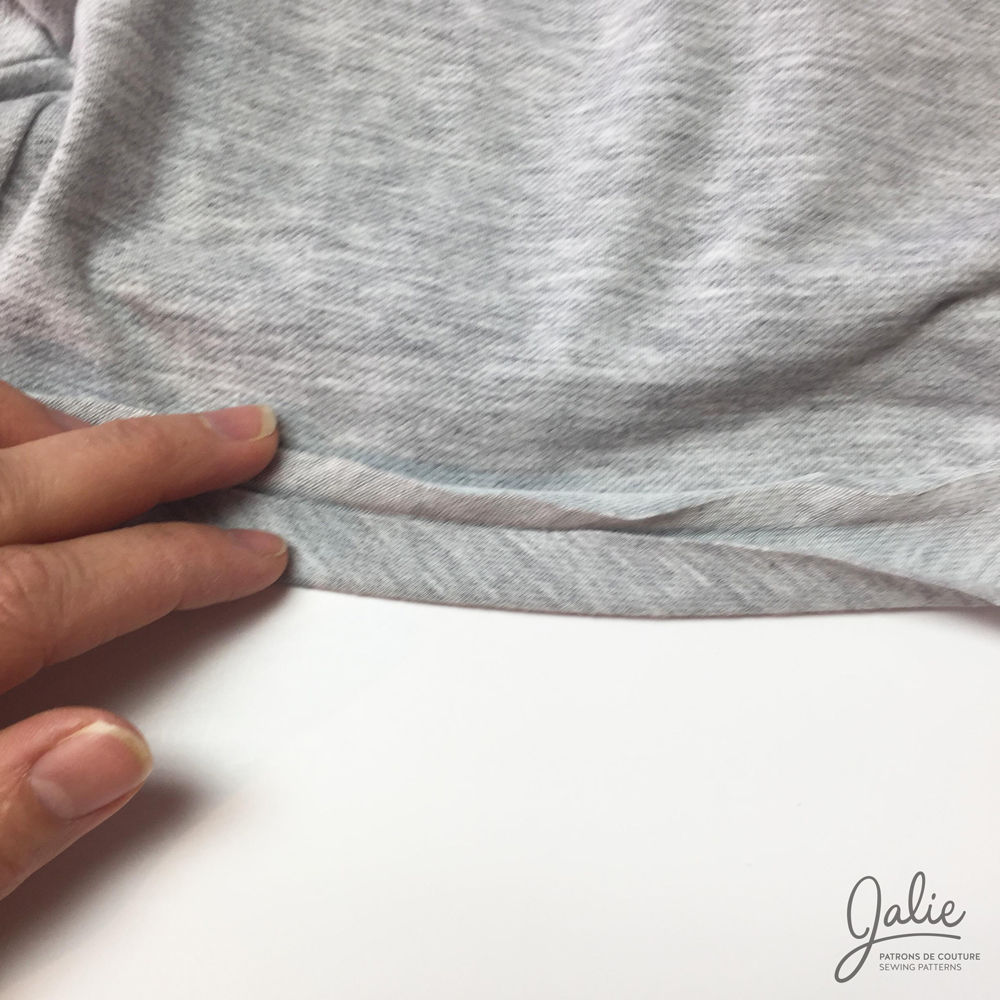
- Topstitch binding 1/8'' (3 mm) from top edge.

- Finish the side seam (right sides together).


TERMINÉ!
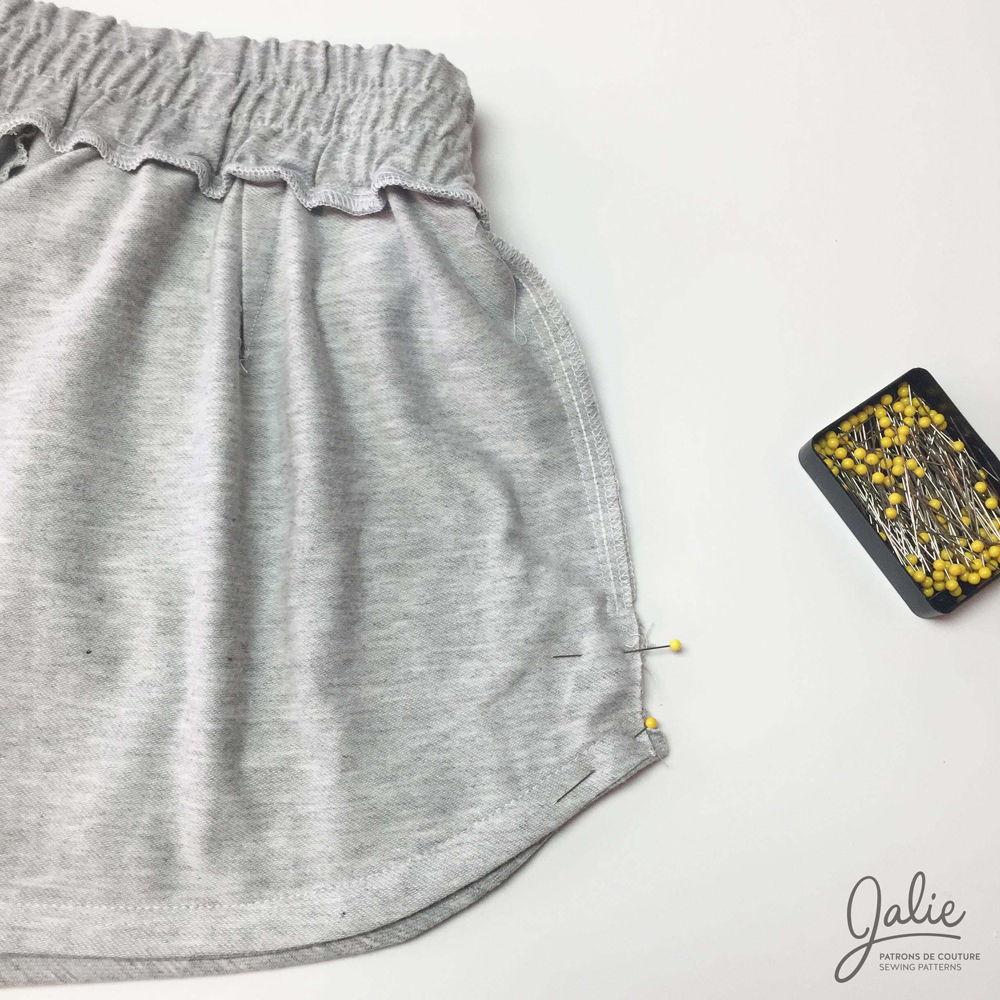
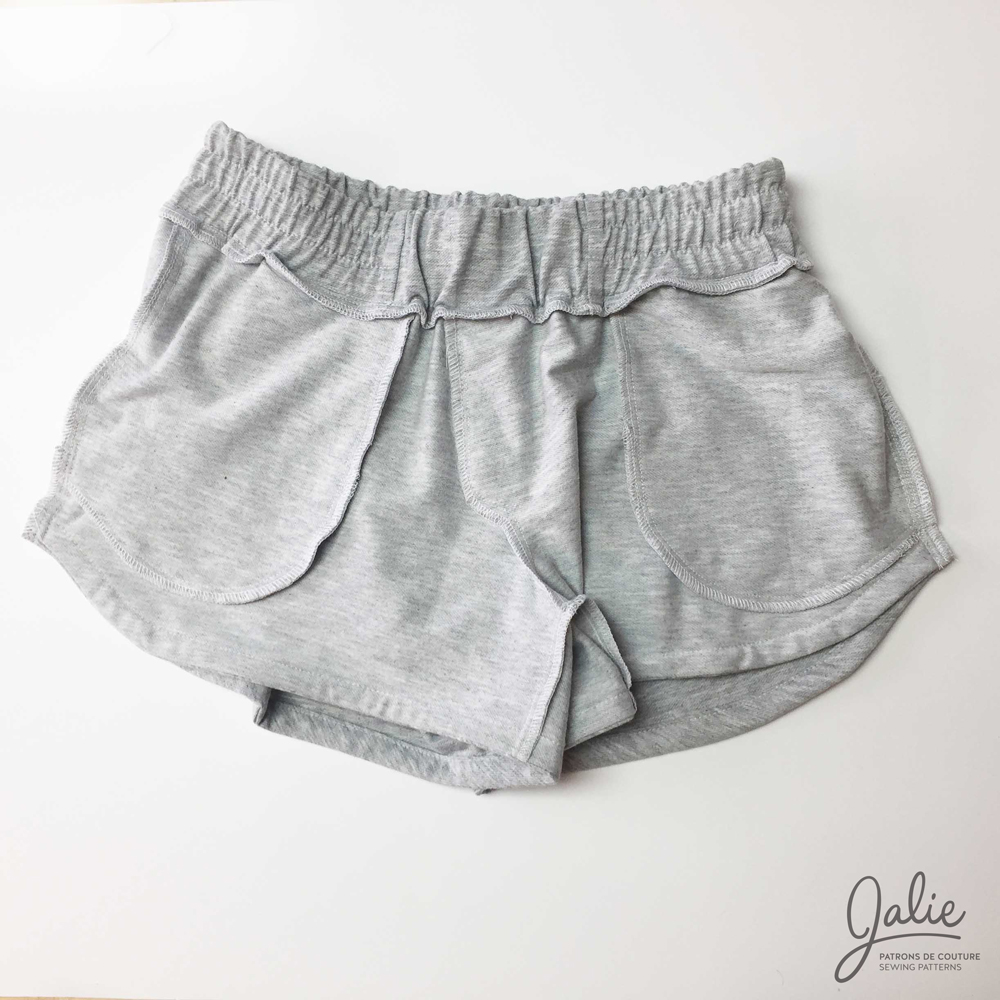 |
| Finished shorts - wrong side out |
How to wear them?
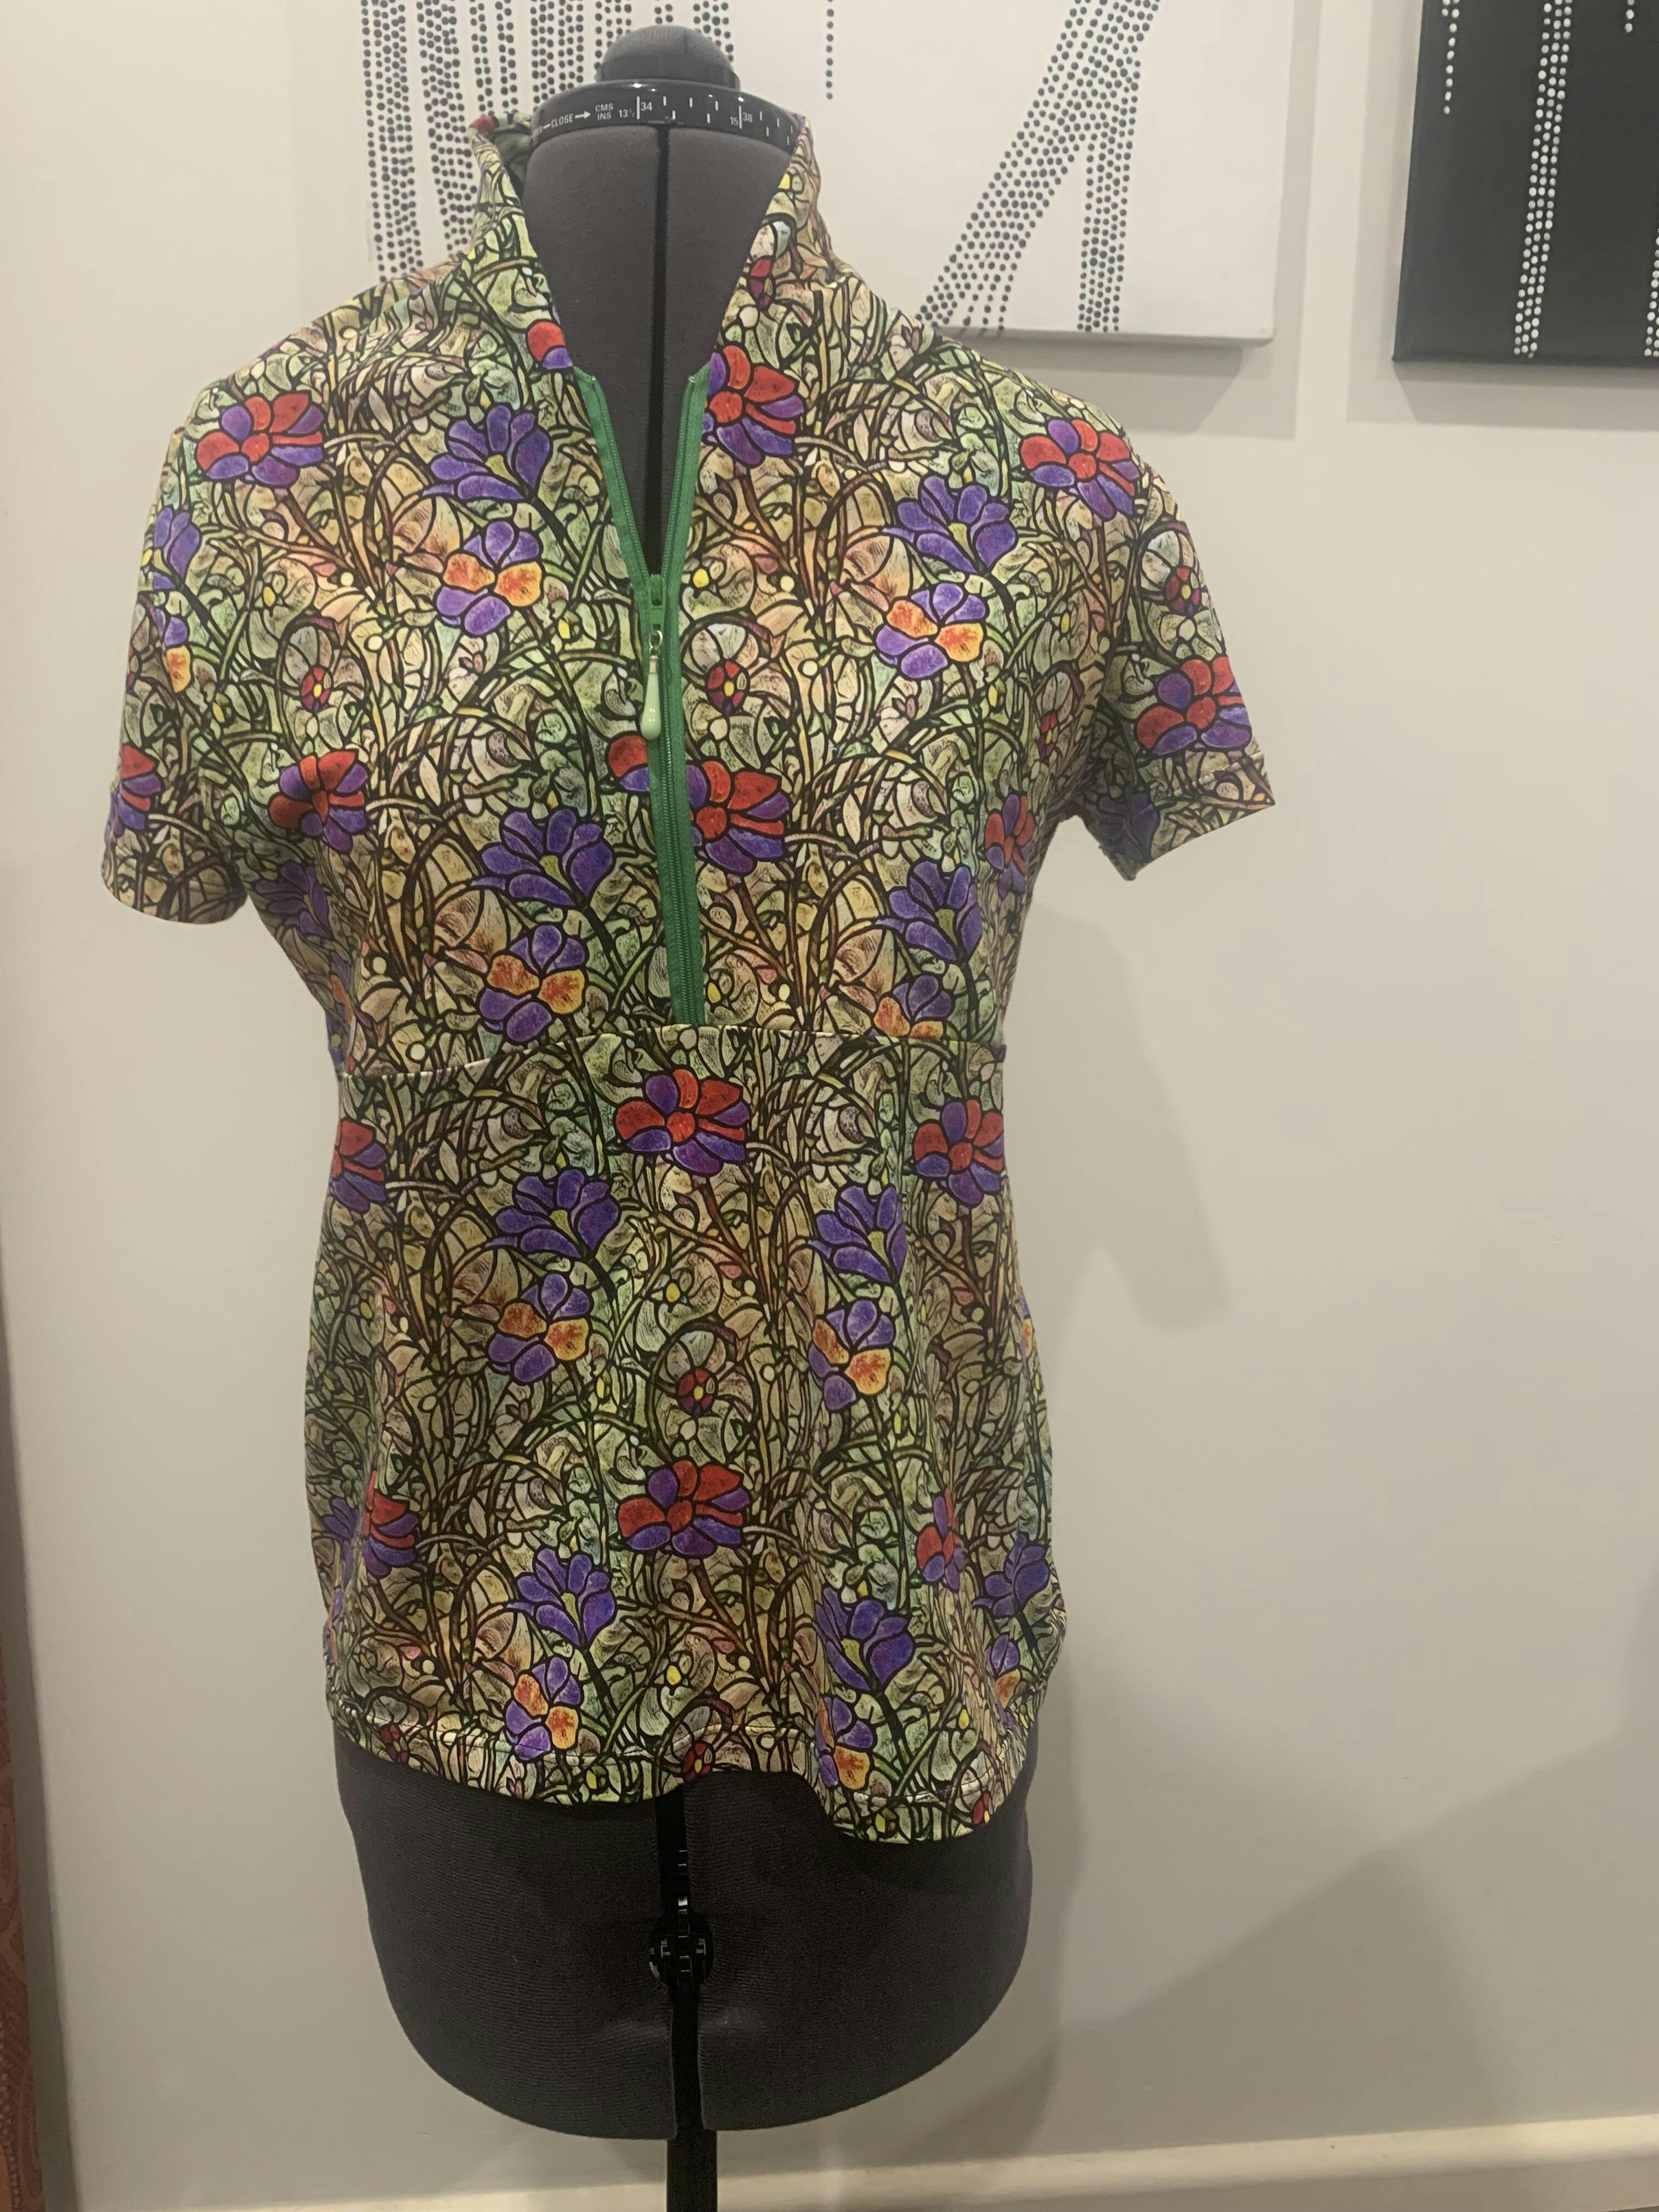
Wear your new shorts with a Pika Tank 3679, a french terry sweatshirt 3355 or a sleeveless 2805!You enjoyed this tutorial?
Pin the Pinterest-friendly image to one of your Pinterest board!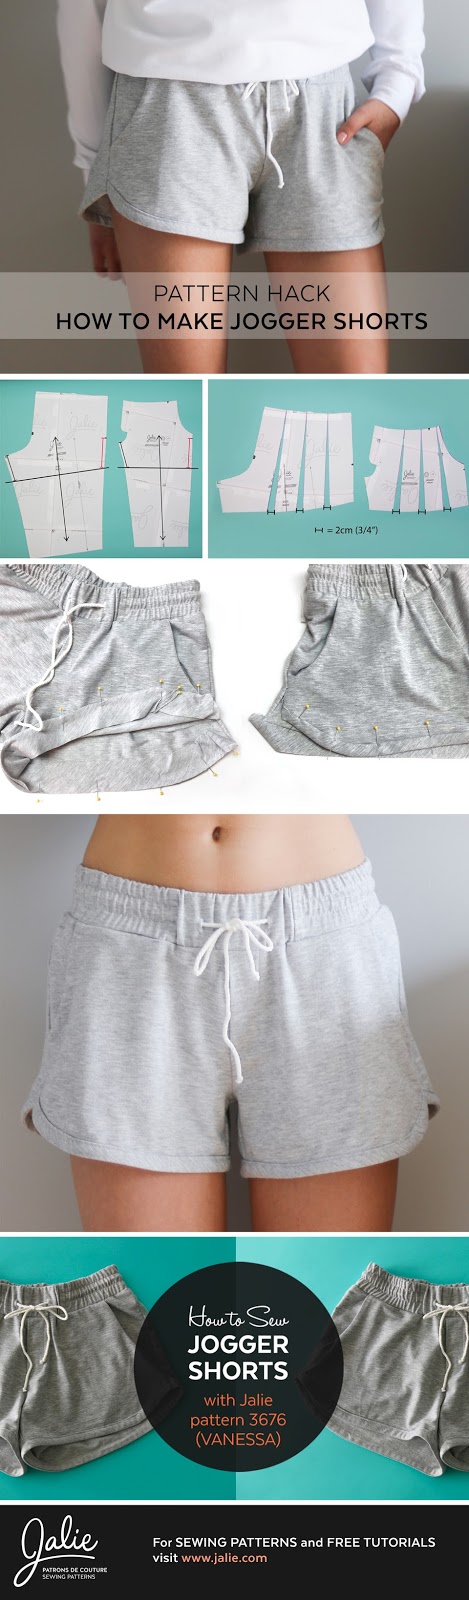
← Which T-Shirt are you? Summer Pyjamas →